What I made in 2012 – Colette Patterns Crepe Dress

I just came to the realization that in the hustle and bustle of 2012, I’ve barely shared anything I’ve made for myself on this blog so for the next few weeks I’ll be posting hand-made additions to my wardrobe.

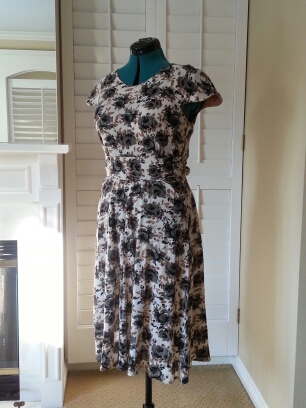
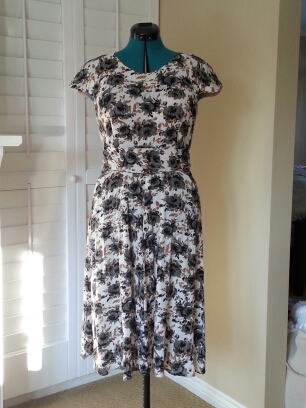
Here’s one of my favorites, the Colette Patterns Crepe dress, I just love everything about it!

20130107_152101

20130107_152002

This was the fourth dress I ever made and it was a confidence booster. I made two bodice muslins and ended up cutting a size 8. I followed along with Gertie’s Crepe Sew-Along and used her instructions to do a horizontal tuck  on the pattern to remove excess fabric from the bodice because it was too long for me. Sewing it up was a dream, the pattern instructions were great and the fabric (gauzy linen/rayon blend) was very easy to work with.

20130107_152637

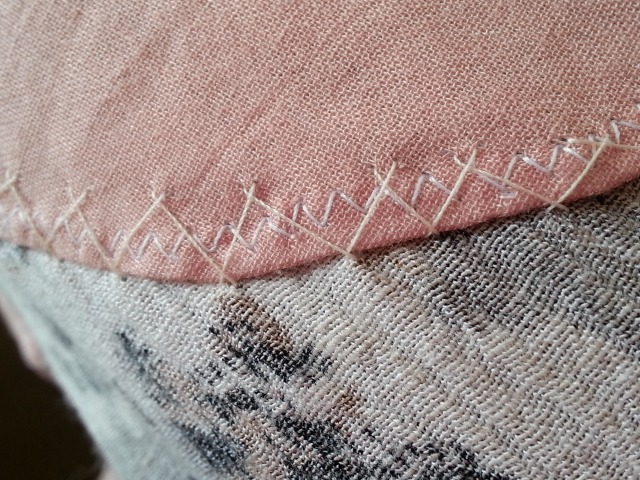
I cut the facings out of a peach-ish cotton (so it wouldn’t show through on the other side) and catch-stitched them all by hand. The instructions call for simple tacks but I am not a fan of flappy facings.

20130107_152657

The dress is unlined so I finished my inside seams with rayon seam binding, I really love this stuff – so soft and smooth.

I love the pattern, I can’t wait to make it again with the sweetheart neckline in a solid fabric. You like it?
Faux-Serged Seam Finish for Knit Fabrics in 5 Easy Steps!

I love sewing with knit fabrics but I know they can seem intimidating to some us of, especially when you don’t own or use a serger to finish off your seams. No fear! I’m going to share a quick and easy way to get a seam finish that is similar to using a serger and all you need is your sewing machine and the zig zag stitch! Let’s begin:

Step one:

Here is my 3/8″ (roughly 1 cm) seam allowance, as you can see I’ve used a smaller zig zag stitch to sew up my side seams as per the pattern instructions.

All images property of Beautifully Sewn

 Step 2:

Snip your seam allowance in half.

All images property of Beautifully Sewn

Step 3:

Using your zig-zag stitch at the widest setting and a stitch length of about 3 (or whatever suits you!) position you fabric under the presser foot and just test out your stitch (manually) and make sure that when your needle goes to the left, it comes down right beside the farthest part of your original seam.

All images property of Beautifully Sewn

Then move your needle (manually) to the right and make sure that the needle falls just outside of your fabric.

All images property of Beautifully Sewn

Step 4:

Start stitching away, don’t forget to backstitch in the beginning and go slowly at first if you need to.

All images property of Beautifully Sewn

Stop and check to see if it’s coming along nicely, you want to make sure that the thread catches the ends of your fabric, think of it as “left stitch on the fabric, right stitch off the fabric” (I just realized that I didn’t snip all my stray threads off…lol).

All images property of Beautifully Sewn

Step 5:

Finish it off! Voila!

All images property of Beautifully Sewn

All images property of Beautifully Sewn

How easy was that?! Now you try and keep on delaying that serger purchase you’ve been mulling over in your head (be honest we’ll all cave in one day!).

As always feel free to share your own tips and tricks for sewing with knit fabrics, the more the better 🙂

Peace,

Salma